Candle Basics! Make Pillar Candles
Start with the basics
It is the most basic method of making mold candles and can be applied in various shapes and methods.
Experience candle art from the basics!

01 Preparation Tools
Supplies| CW Soy Wax PB for Pillars or Eco Soya PB Soy Wax 250 g, Oil Liquid Dyes, PC mold (4x15cm),No. 2 white cotton wick,Essential oil,Electronic scale,Glass rod,Electric stove,Stainless steel pot,Thermometer,Mold sealant,Release agent


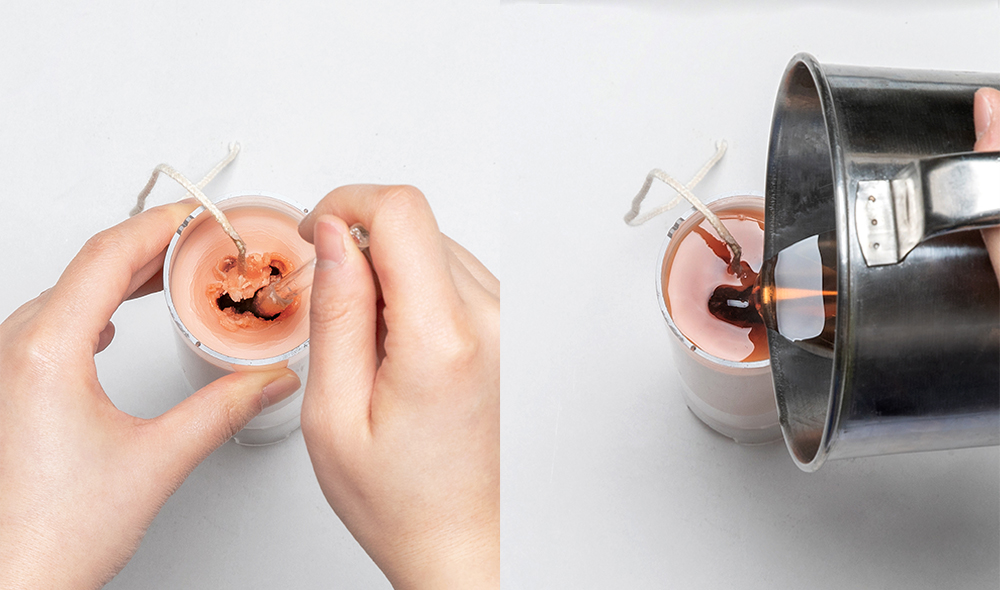
02 Insert the wax wick and plug the hole
Insert the wax wick into the wax wick hole. Use mold sealant to cover the upper part of the wax core to seal it. This is to prevent the wax from leaking out. Use white mold sealant to seal the wax core hole to prevent wax liquid from flowing out.

03 Spray release agent
After fixing the wax core, spray the release agent evenly inside the mold. Release agents help the candle release from the mold by forming an oil-like film.

04 Melting wax
Melt 250g of wax based on a 4x15cm mold. (Allow enough time for melting, taking into account secondary expansion and loss during pouring.)

05 Color production (optional)
Use oily liquid dye or color blocks, adjust the concentration, and dye the desired color.


06 Fragrance
Generally speaking, for candles, the fragrance mix is about 10% of the total volume. When the temperature of the wax is 80 degrees, add the fragrance and stir well for 1 minute. (Based on 250 grams of wax using 25 grams of fragrance)


07 Pouring wax
The temperature varies depending on the type of wax, but for soy wax, pour when it is around 75 to 80 degrees. (If the mold is cold in winter, bubbles may appear on the surface of the candle, so it is recommended to use a heating tool to preheat the mold.)

08 Fixed wax core
After pouring the wax, straighten the wax core and secure it with a wax core clamp.
09 Second expansion
If holes appear around the wax wick due to shrinkage, use a glass rod or wooden chopstick to poke the sides of the wax wick into the middle of the candle. After that, pour in the remaining wax again. This is to prevent voids from forming inside due to the good shrinkage properties of the cylindrical wax tool.

10 Split Candles
After it is completely hardened, remove the mold sealant from the mold until the outside of the mold is no longer hot to the touch. If it hardens and still doesn't come out, put it in the refrigerator for about 5 minutes and then take it out and it will be easy to unmold. (Candles may break if left too long.)

11 Tissue wax core
Cut off the remaining wax wick at the bottom of the candle and use knots or tags to neatly organize the top wick.


1 then leave a message
老師您好,請問我做得柱狀蠟燭在點燃時蠟液都會流出來,最後像土石流一樣一攤,都無法穩定的完整的燃燒完一支,這是那個環節錯了呢?我是用Ecosoya PB大豆蠟!
請老師協助我解惑,我試做很多支了,都一直是這樣,謝謝!